悩み
「Unity Setup iOS Support for Editorのインストールに失敗しました」
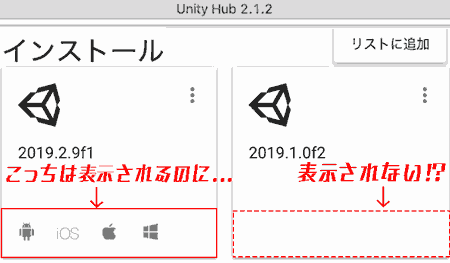
「モジュールを加える」がない。。。
どうしても加えたい時、どうするか。。。
これらは私の悩みだった。
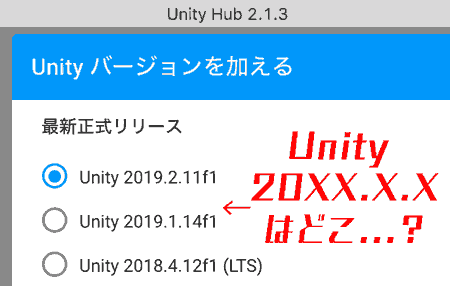
わざわざプロジェクトのバージョンを合わせる為に、Unity Hubのインストール >「Unityバージョンを加える」の一覧に、バージョンが載ってないことが多い。(特定のバージョンだけ表示される)
しかし、私はこの問題を解決する方法を2つ見つけたので、対処法を教えていくぞ!!
問題「モジュールを加える」が表示されない
- 「モジュールを加える」の表示がない。
以外にも
- インストールしたいバージョンが見つからない。
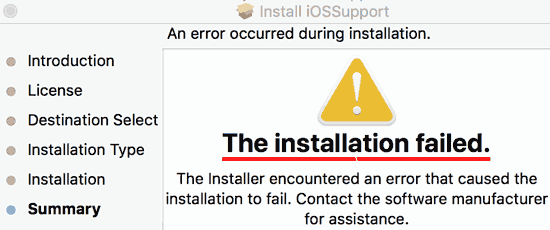
- Unityのインストールに失敗しました。
これらの問題も解消することができます。問題はバラバラですが、私はこの方法で対処することができました。
 |
 |
|---|---|
| 「モジュールを加える」の表示がない | インストールしたいバージョンが見つからない |
 |
|---|
| The installation failed. (Unityのインストールに失敗しました。) |
エラーメッセージ
The installation Failed.
The installer encountered an error that caused the installtion to fail.
Contact the software manufacturer for assistance.
日本語訳
インストールに失敗しました。
インストーラーでエラーが発生し、インストールが失敗しました。
ソフトウェアの製造元に問い合わせてください。
以下の環境で動作を行い、今回の問題の対処に成功しています。
使用環境
方法1 簡単インストール
- macOS Mojave
- Unity Hub 2.1.3
方法2 手動インストール
- macOS Catalina
- Unity Hub 2.1.2
モジュールを加える方法
「モジュールを加える」の表示がなくても、モジュールを加える方法は2つあります。
- 簡単インストール(推奨)
- 手動インストール
前者は私が後から見つけた活気的な方法です。
方法1 簡単インストール

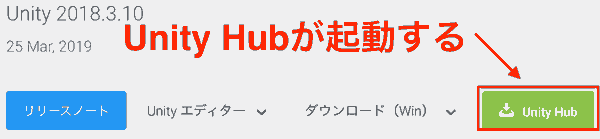
- まずはUnity Achiveのページにいきます。
- Unity Achiveの中でUnity Hubに追加したいバージョンを見つけます。
そして、ダウンロードの選択肢の中で「Unity Hub」を選択します。
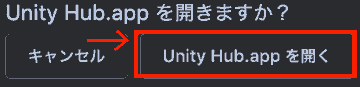
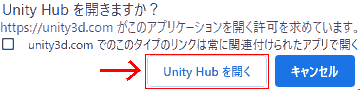
- 「Unity Hub.appを開きますか?」と聞かれるので、「Unity Hub.appを開く」を選択します。
 |
 |
|---|---|
| Macの場合 | Windowsの場合 |
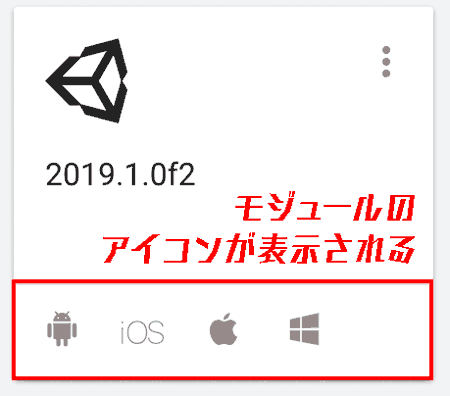
- Unity Hubが起動します。いつも通り、必要なモジュールを選択して、「INSTALL」します。

- インストールが完了すると、モジュールのアイコン付きで表示されます。
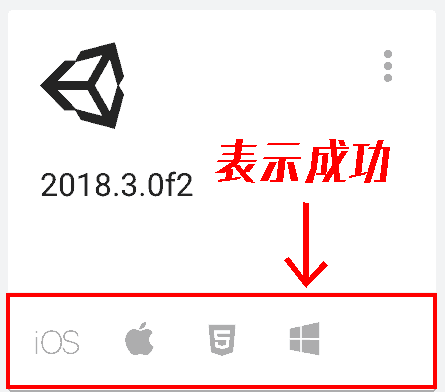
これで思う存分バージョンをインストールするのが楽になりますね!
ちなみに…インストール先(保存場所)は?
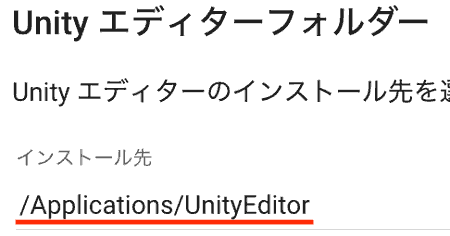
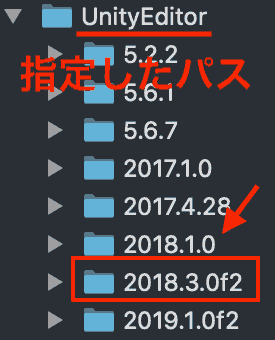
Unityエディターフォルダーのインストール先で指定したパスにインストールされます。
方法1 簡単インストール 感想
後述のようにUnityバージョンを加える為にわざわざUnity Achiveからエディターorインストールをして、時間をかけたが、この方法でバージョン管理がさらに楽になりそうだ。
これでUnityのインストールに手間をかける必要がなくなったー!!
方法2 手動インストール
ここからは手動でインストールする手順です。
- 前提条件

- Unity Editor 2019.2.9f1 はインストール時に、Android、iOS、Mac、Windowsのモジュールを選択した状態。
- Unity Editor 2019.1.0f2 はインストール時に、何も選択しなかった状態。(日本語のみ)
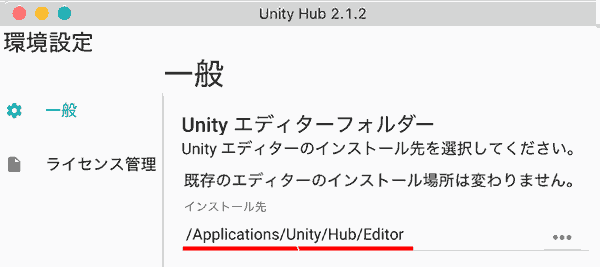
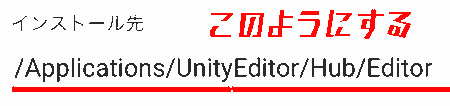
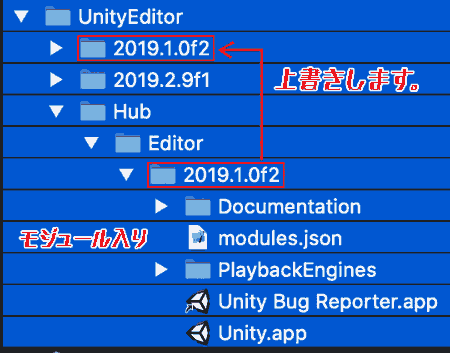
Unityエディターフォルダーのパスがデフォルトままだとします。
/Applications/UnityEditor/Hub/Editor
ここから手動インストール方法を順番に示します。
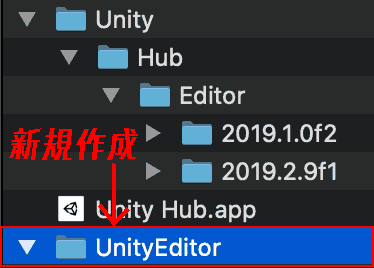
- Unity Editorを保存するフォルダを作成します。今回は「UnityEditor」としました。
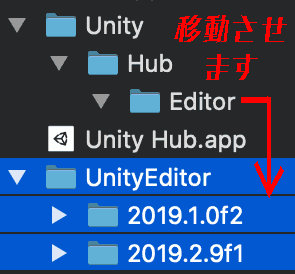
- Unity Editorを移動させます。
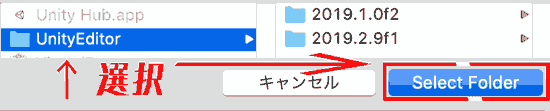
- UnityHubを再起動して、Unityエディターフォルダーのパスを変更します。
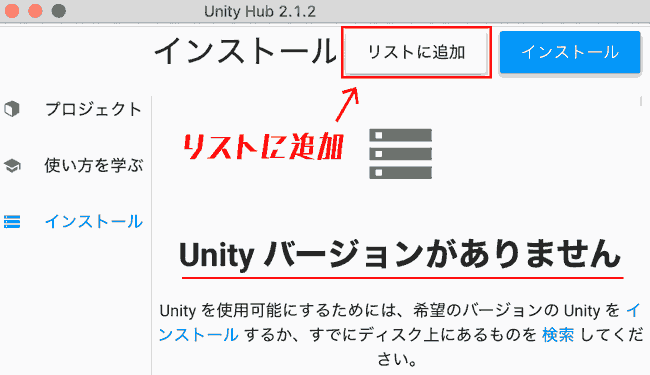
- Unity Hubを再起動すると、次のような画面になります。
「Unityバージョンがありません」
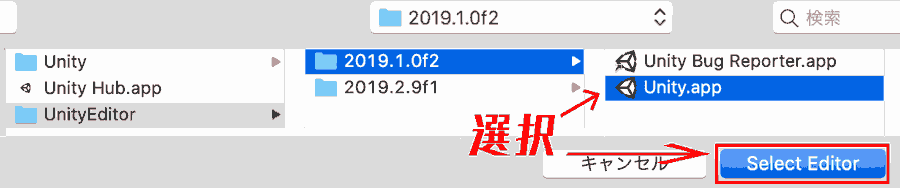
その状態で「リストに追加」からUnity Editorを選択します。
- まずは確認のため、モジュールをインストールしていたUnity 2019.2.9f1から「Unity.app」本体を選択します。
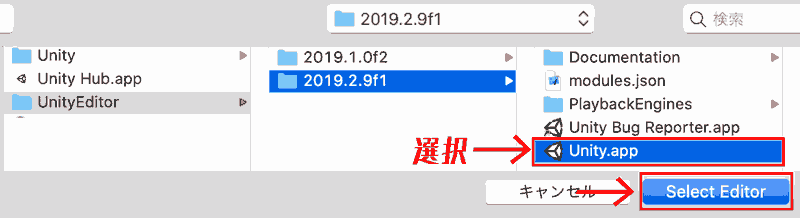
モジュールが入っている場合はDocumentationフォルダが入っています。
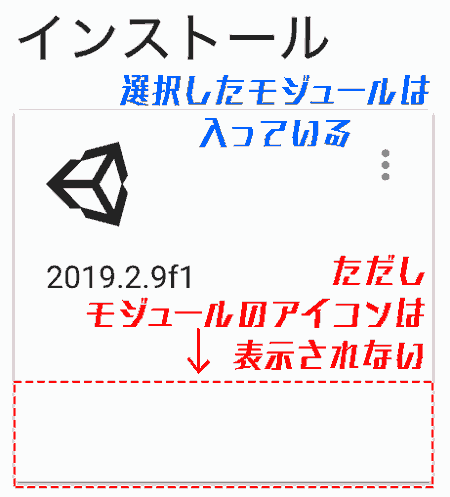
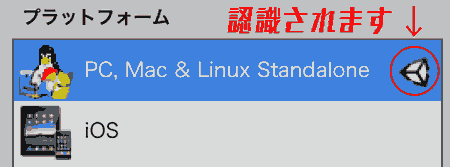
モジュールの表示はされないですが、Unity Editor 2019.2.9f1のFile > Build Settings(ファイル > ビルド設定)では認識されます。
- 一方、モジュール無し、Unity EditorのみのUnity 2019.1.0f2を選択します。
当然、モジュールはインストールされていません。
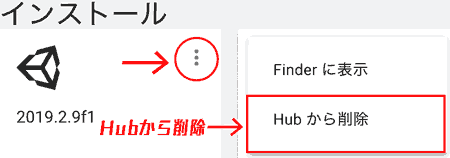
ここで、Unity 2019.1.0f2を「Hubから削除」します。
(Unity Hubとのリンクが切れただけで、Unity 2019.1.0f2 Editor自体は削除されません)
プロジェクトでUnity バージョン2019.1.0f2で作成されていたプロジェクトは、下に「インストールされていない」と警告が出ます。
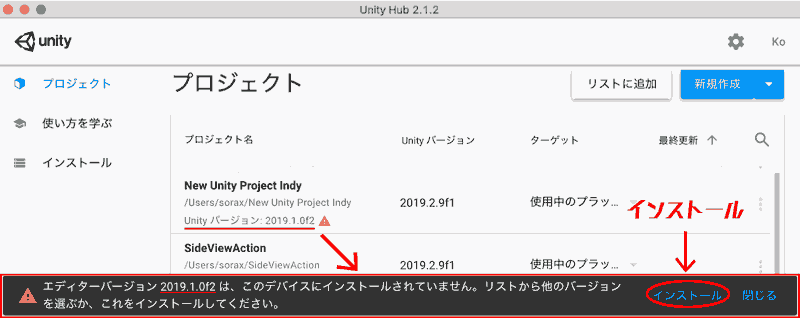
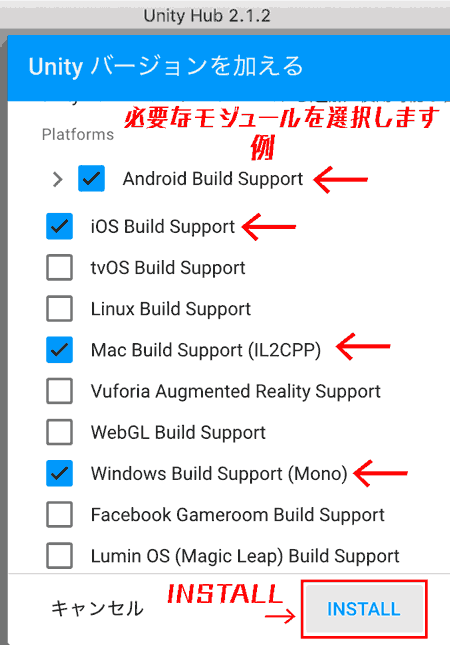
インストールをクリックして、必要なモジュールを選択して、インストールし直します。
例えば、今回は画像のようにモジュールを選択します。
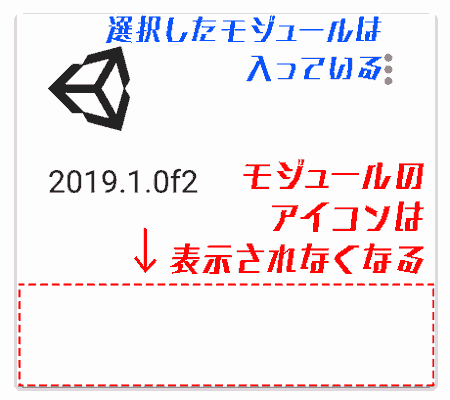
インストールが完了すると、モジュールが追加されているというアイコンが表示されました!
<<注意>>Unityエディターフォルダーのパスがずれるので、注意しましょう!
後は、移動し直し(同じ場所に既にあるので、置き換え(上書き))して「リストに追加」すればOKです。
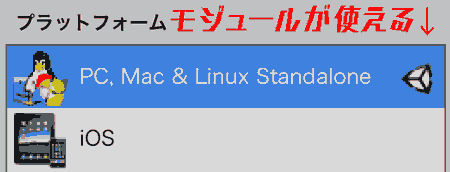
これで、モジュールが使えるようになりますが、Unity Hubで2019 1.0f2のモジュールのアイコンが表示されなくなります。。
これも注意です!
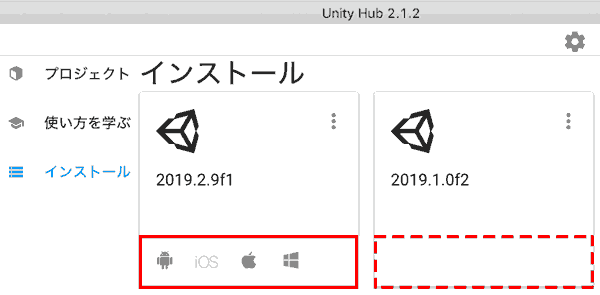
ようやくUnity 2019 1.0f2で選択したモジュールが使えるようになりました。
 |
 |
|---|---|
| モジュールが使える | モジュールのアイコンは表示されなくなる… |
Unity 2019.2.9f1は既にモジュールが入っているが「モジュールを加える」が出てない場合、残念だが、同じような方法でインストールし直そう!
方法2 手動インストール 感想
Unityエディターフォルダーのパスを変更して、Unity Hubからあえて認識(インストール)し直すことで対処した。Unity4、Unity5などバージョン管理にも役立つだろう!
例えば、Unity5のEditorをpkgからインストールすると、インストール先が/Applications/Unity/となってしまい、既存のUnityフォルダ上書きされてしまい、以前のUnityのバージョンが消えてしまうからね。
私は/Applications/UnityEditor/にそれぞれのUnity Editorを保管することで、Unityのバージョンが管理しやすいと思う!
ただ、Unityエディターフォルダーパスを変更するとモジュールのアイコンが表示されなくなるので注意が必要です。
参考
[1] UnityでiOSのBuild Supportがインストールできず無駄に泣いた – mosotanienのブログ
[2] Unity: UnitySetup-iOS-Support-for-Editorのインストールに失敗するときの解決法 – Kilimanjaro Warehouse